Search the content
-
Handstand Push-Up | Muscles Worked, Benefits & Progression Handstand Push-Up Complete Guide: Muscles Worked, Benefits...
-
DEEP SQUAD EXERCISE....deep squad exercise Smith machine squats are a variation of traditional squats performed using a Smith ma...
-
A decline push-up is a variation of the traditional push-up that targets the upper chest and shoulders more intensely. Here's how it ...
Friday, January 31, 2025
Wednesday, January 29, 2025
overhead press
The overhead press,
How to Perform the Overhead Press
Setup:
Stand with feet shoulder-width apart and grip the barbell slightly wider than shoulder-width.
Keep your wrists straight, elbows slightly forward, and the bar resting on your upper chest.
Engage your core and keep your back neutral.
Pressing Phase:
Take a deep breath and press the bar upward in a straight line.
Fully extend your arms at the top, keeping the bar directly above your head.
Avoid excessive leaning or arching of the lower back.
Lowering Phase:
Slowly bring the bar back down to your upper chest in a controlled manner.
Keep your elbows slightly forward and avoid dropping the weight too fast.
Repeat:
Perform the desired number of repetitions, maintaining good form throughout.
**Muscles
How to Perform the Overhead Press
Setup:
Stand with feet shoulder-width apart and grip the barbell slightly wider than shoulder-width.
Keep your wrists straight, elbows slightly forward, and the bar resting on your upper chest.
Engage your core and keep your back neutral.
Pressing Phase:
Take a deep breath and press the bar upward in a straight line.
Fully extend your arms at the top, keeping the bar directly above your head.
Avoid excessive leaning or arching of the lower back.
Lowering Phase:
Slowly bring the bar back down to your upper chest in a controlled manner.
Keep your elbows slightly forward and avoid dropping the weight too fast.
Repeat:
Perform the desired number of repetitions, maintaining good form throughout.
**Muscles
Take a deep breath and press the bar upward in a straight line. Fully extend your arms at the top, keeping the bar directly above your head. Avoid excessive leaning or arching of the lower back.
Lowering Phase: Slowly bring the bar back down to your upper chest in a controlled manner. Keep your elbows slightly forward and avoid dropping the weight too fast. Repeat:
Perform the desired number of repetitions, maintaining good form throughout. **Muscles
Monday, January 27, 2025
Shoulder exercises (feel load)
Shoulder
A decline push-up is a variation of the standard push-up where your feet are elevated on a surface, such as a bench, chair, or step, while your hands remain on the ground. This increases the difficulty and targets the upper chest, shoulders, and triceps more intensely.
How to Perform a Decline Push-Up:
Setup:
Find a sturdy surface to elevate your feet (e.g., a bench, step, or low platform).
Place your feet on the elevated surface and your hands on the floor, slightly wider than shoulder-width apart.
Keep your body in a straight line from your head to your heels.
Execution:
Lower your chest toward the ground by bending your elbows, keeping your core tight and your back straight.
Stop when your chest is just above the floor or as far as your range of motion allows.
Push through your palms to return to the starting position.
Form Tips:
Keep your head in line with your spine; avoid looking up or letting your head drop.
Engage your core to prevent your hips from sagging or rising.
Move slowly and control the motion to maximize muscle engagement
Benefits:
Targets the upper chest and shoulders more than standard push-ups.
Builds core stability as the elevated position requires additional balance.
Increases overall strength and muscle definition in the upper body.
Modifications:
To make it easier: Decrease the height of the surface where your feet are elevated.
To make it harder: Increase the elevation or add a weighted vest for more resistance.
Would you like tips on how to incorporate decline push-ups into your workout routine?
The decline push-up is an excellent shoulder-loading exercise because the angle created by elevating your feet shifts more of your body weight forward onto your shoulders. Here's how it specifically affects the shoulders and increases the load:
Shoulder Load in Decline Push-Ups:
Body Angle Effect:
Elevating your feet places your body at a downward angle, which causes more weight to be transferred to your shoulders.
The steeper the decline (higher elevation of your feet), the greater the load on your shoulders.
Muscle Engagement:
While the chest (particularly the upper chest) is the primary muscle activated, the anterior deltoids (front part of the shoulders) play a major role in stabilizing and pressing your body upward.
Your trapezius and rotator cuff muscles also activate to provide stability to the shoulder joint.
Strength Development:
Decline push-ups mimic a movement pattern similar to an incline bench press or handstand push-up, which is more demanding on the shoulders than standard push-ups.
This increases shoulder strength and endurance over time.
How to Maximize Shoulder Load:
Increase Decline: Use a higher elevation for your feet (e.g., a high bench or box) to emphasize the shoulders further.
Shift Weight Forward: Slightly lean forward as you lower your body, mimicking a pike push-up position, to place even more focus on the shoulders.
Slow Eccentric Motion: Lower yourself slowly (about 3-5 seconds) to enhance the tension on your shoulders throughout the movement.
Exercise Benefits for Shoulders:
Builds strength and size in the deltoids.
Improves stability and mobility of the shoulder joint.
Prepares your body for advanced shoulder exercises like handstand push-ups.
Sunday, January 26, 2025
shoulder exercises
Best Shoulder Exercises for Strength and Stability
Shoulder exercises are essential for building strength, improving stability, and enhancing overall upper-body functionality. The shoulders consist of three major muscle groups: the anterior (front), medial (side), and posterior (rear) deltoids. Here are some of the best exercises to target all parts of your shoulders effectively:
1. Overhead Press (Barbell or Dumbbell)
The overhead press is a compound exercise that targets the entire shoulder region, especially the anterior and medial deltoids. Use a barbell or dumbbells to press the weight upward from shoulder level while keeping your core engaged. This movement builds strength and promotes shoulder stability.
2. Lateral Raises
Lateral raises focus on the medial deltoids, helping to widen and define the shoulders. Hold a dumbbell in each hand and lift them to the sides until they reach shoulder height. Ensure a slight bend in your elbows to reduce strain.
3. Front Raises
This isolation exercise targets the anterior deltoids. Use a dumbbell or plate, raising it in front of you to shoulder level. Perform the exercise slowly to maintain control and maximize engagement.
4. Rear Delt Fly
The rear delt fly strengthens the posterior deltoids, which often get overlooked. Lean forward slightly with a dumbbell in each hand, and lift your arms out to the sides like wings. This exercise improves posture and shoulder balance.
5. Arnold Press
Named after Arnold Schwarzenegger, this exercise combines rotation with pressing to target all parts of the deltoids. Start with dumbbells at shoulder height, palms facing you, and rotate your wrists outward as you press upward.
6. Face Pulls
Using a cable machine or resistance band, pull the handles toward your face, keeping your elbows high. This exercise targets the rear deltoids and promotes shoulder stability.
Incorporate these exercises into your routine 2–3 times per week for balanced, strong shoulders. Always prioritize proper form and warm up to prevent injury.
GIF
Friday, January 24, 2025
wrist pain exercies
wrist pain exercies
Wrist pain can occur due to overuse, injury, or strain from repetitive movements. To relieve pain and improve strength and flexibility, you can try simple wrist exercises. These exercises are easy to do at home and can help reduce discomfort over time.
1. Wrist Stretch:
Stretch your arm out straight with your palm facing down. Use your other hand to gently pull your fingers back toward your body until you feel a stretch in your wrist. Hold this position for 20-30 seconds, then switch to the other wrist.
2. Wrist Flexor Stretch:
Extend your arm with your palm facing up. Gently pull your fingers back with the opposite hand until you feel a stretch on the underside of your forearm. Hold for 20-30 seconds and repeat on the other side.
3. Wrist Rotations:
Extend your arms forward and make a loose fist. Slowly rotate your wrists in circles, first clockwise and then counterclockwise. Perform 10 rotations in each direction to loosen up the joints.
4. Tendon Glides:
Start with your fingers fully extended. First, curl the tips of your fingers to form a hook shape. Then, make a full fist. Open your hand back to the starting position. Repeat this exercise 10 times for each hand.
5. Wrist Curls:
Rest your forearm on a flat surface with your hand hanging off the edge, holding a light weight or resistance band. Curl your wrist upward, then slowly lower it back down. Perform 10-15 repetitions on each hand.
These exercises are designed to relieve tension and build strength in your wrists. Do them regularly, but stop if the pain increases. If the pain persists, consult a doctor or physical therapist.
1. Wrist Stretch: Stretch your arm out straight with your palm facing down. Use your other hand to gently pull your fingers back toward your body until you feel a stretch in your wrist. Hold this position for 20-30 seconds, then switch to the other wrist.
2. Wrist Flexor Stretch: Extend your arm with your palm facing up. Gently pull your fingers back with the opposite hand until you feel a stretch on the underside of your forearm. Hold for 20-30 seconds and repeat on the other side.
3. Wrist Rotations: Extend your arms forward and make a loose fist. Slowly rotate your wrists in circles, first clockwise and then counterclockwise. Perform 10 rotations in each direction to loosen up the joints.
4. Tendon Glides: Start with your fingers fully extended. First, curl the tips of your fingers to form a hook shape. Then, make a full fist. Open your hand back to the starting position. Repeat this exercise 10 times for each hand.
5. Wrist Curls: Rest your forearm on a flat surface with your hand hanging off the edge, holding a light weight or resistance band. Curl your wrist upward, then slowly lower it back down. Perform 10-15 repetitions on each hand.
These exercises are designed to relieve tension and build strength in your wrists. Do them regularly, but stop if the pain increases. If the pain persists, consult a doctor or physical therapist.
Wednesday, January 22, 2025
triceps exercises in gym
Triceps exercise
Triceps Exercises in the Gym
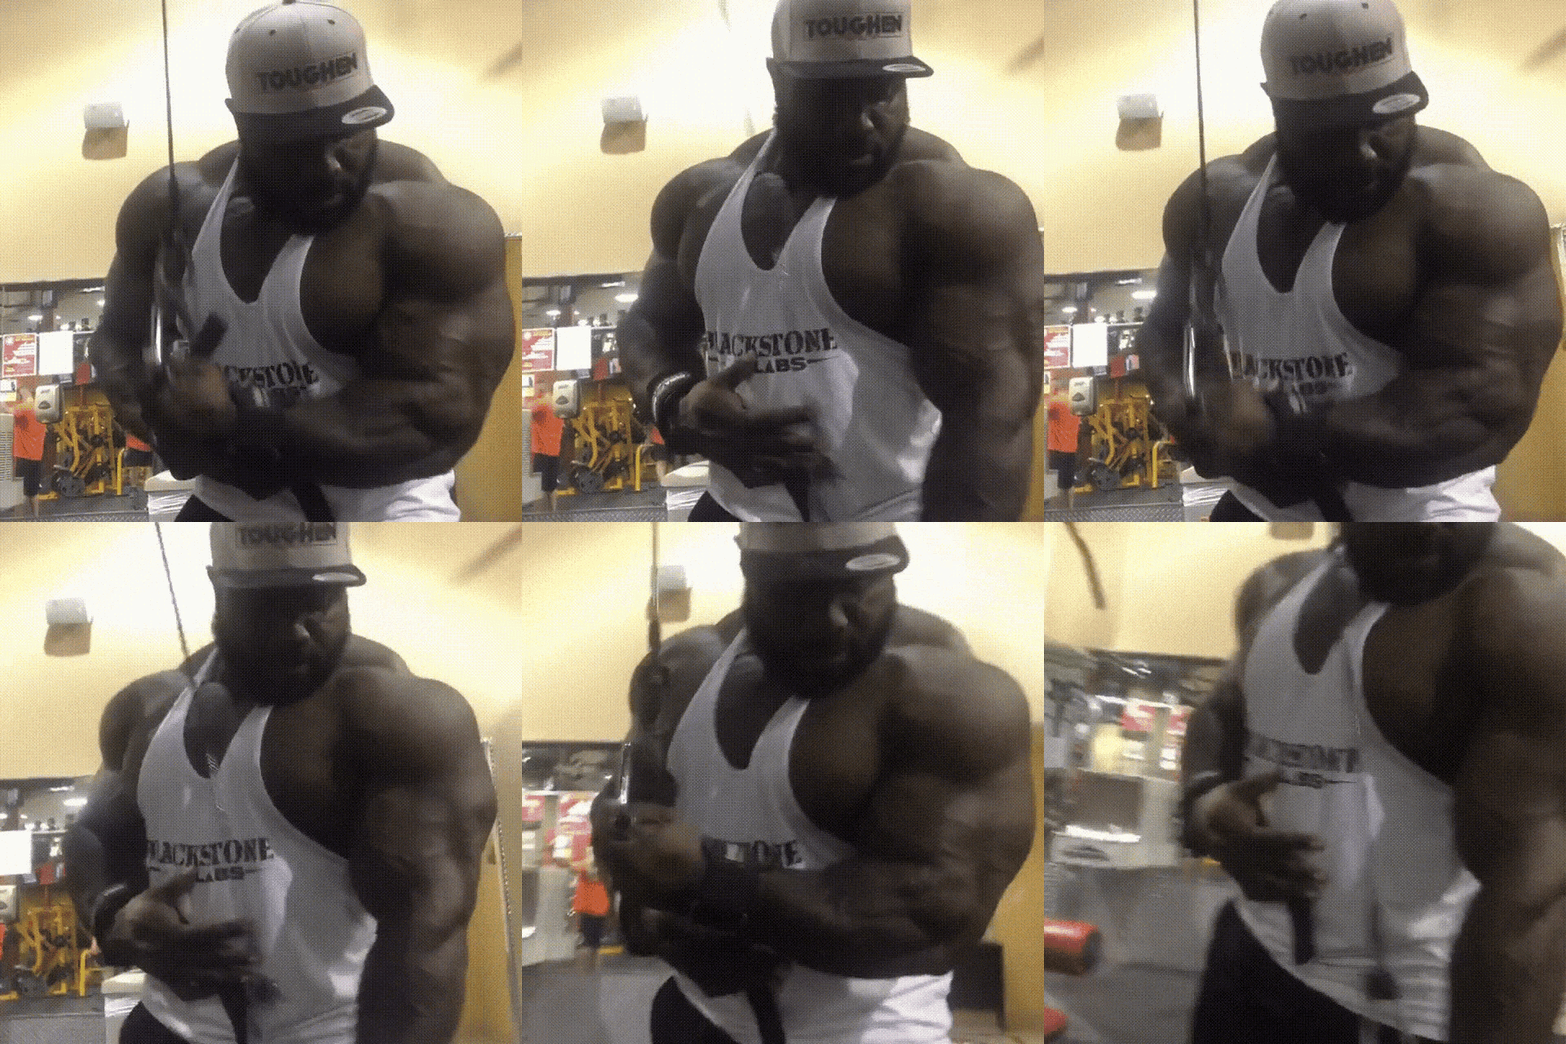
Tricep Pushdowns (Cable Machine)
Stand facing the cable machine with a straight bar or rope attachment.
Keep elbows close to your body and push the bar/rope downwards until your arms are fully extended.
Focus on squeezing your triceps at the bottom.
Close-Grip Bench Press
Use a barbell on a bench.
Grip the bar with hands shoulder-width apart.
Lower the bar to your chest and press upward, focusing on tricep engagement.
Dumbbell Tricep Kickbacks
Hold a dumbbell in each hand, hinge forward at the hips, and keep your back straight.
Bend elbows to 90 degrees and extend them backward until arms are fully straight.
Overhead Tricep Extension (Dumbbell or EZ Bar)
Hold a dumbbell or EZ bar with both hands and extend it overhead.
Bend your elbows to lower the weight behind your head, then straighten your arms to return to the starting position.
Skull Crushers (Lying Tricep Extensions)
Lie on a bench and hold an EZ bar with arms extended over your chest.
Lower the bar to your forehead by bending your elbows, then push it back up.
Dips (Bodyweight or Machine)
Use parallel bars or a dip machine.
Lower your body by bending your elbows and push back up to engage the triceps.
Diamond Push-Ups
Get into a push-up position with hands forming a diamond shape under your chest.
Lower your chest to the floor and push back up.
These exercises target all three heads of the triceps, helping to build strength and definition. Focus on proper form to avoid injury!
Subscribe to:
Posts (Atom)
Fitness
Fitness Hub
Fitness Hub FitnessHub ☰ ...